For a skilled handyman or do-it-yourselfer comfortable with basic carpentry and wiring, installing an AirScape Sierra or Ventura is a straight-forward weekend project, typically taking 4 to 6 hours.
Not into DIY?
Call a trusted local handyman, or even better, find an experienced AirScape installer near you.
Installation Overview
Please read the full installation manual before starting the project. This overview does not include all the details you need to install your fan safely and effectively.
Watch this 30 second overview to get a quick sense of the process.
Tools and Supplies Required
- Electric screwdriver
- Keyhole or reciprocating saw
- Lumber
- High quality caulking
- Wood screws
Step 1: Unpack, assemble and test
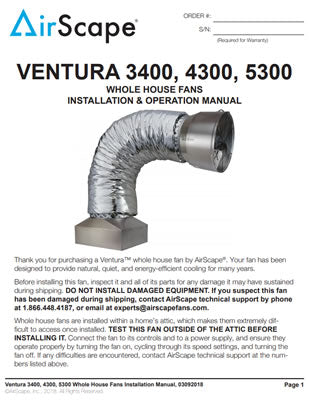
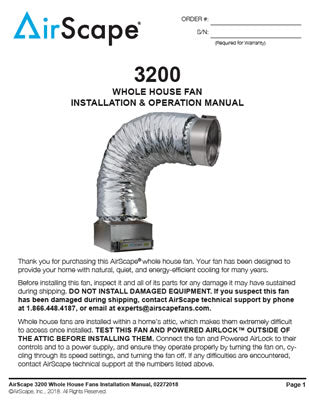
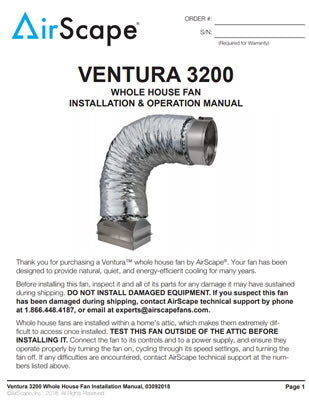
Carefully unpack all three boxes and check that all parts were received. Remove damper assembly from shipping frame. Connect the fan and damper to power and controls to test each component.
Step 2: Frame the vent hole
Determine a location for the unit. Use appropriately sized lumber to frame in a rough opening into the attic. Cut out the drywall inside the framing to create the opening.
Step 3: Assemble the damper box
Assemble the damper using the provided screws, then seal the seams with the provided aluminum tape.
Step 4: Install the fan
Turn off power at the breaker, then pass all components into the attic through the rough opening. Mount the damper over the framing. Suspend the fan assembly from the rafters by its hanging strap. Attach the duct to the damper unit, then use the latches to connect the free end to the fan cone. Use the provided webbing to support the duct. Then use the provided aluminum tape to seal the seams.
Step 5: Wiring and controls
Use the mounting bracket as a template to cut a rough opening for the digital touch controller, then secure the mounting bracket within it. Connect the red CAT5 cable to the red “W/S” port on the fan’s electrical box and run it to the rough opening. Connect the gray molex cord from the fan to the damper. Connect the controller to the red CAT5 cable and mount it to the mounting bracket. Restore power and test the fan.
Step 6: Install the grille
Use latex caulk to seal all wood-to-wood and wood-to-metal joints within the rough opening. Mount the grill to the framing with provided wood screws.